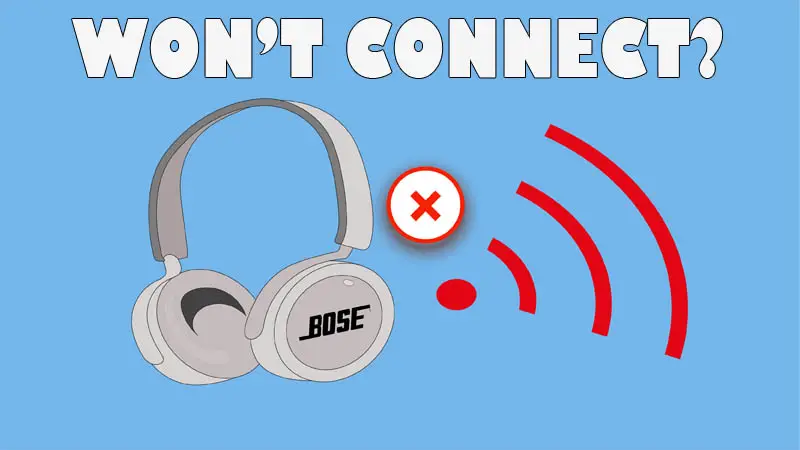
Bose headphones are durable, have a long battery life, and have good sound quality. But, sometimes they won’t connect to other devices. Why does this happen and how to fix it?
Bose headphones won’t connect to other devices if they are already paired with two (2) devices, the pairing mode is deactivated, or if there’s a Bluetooth interface.
To fix Bose headphones that won’t connect, disconnect the paired devices, clear the Bluetooth list, activate pairing mode, upgrade the firmware version, reset the headphones, or use NFC pairing.
To fix the Bose application that won’t connect with your headphones, remove the application from your phone and remove your headphones from the Bluetooth list, re-pair the headphones, and re-download the application.
Contents
Troubleshooting List
Here are a few quick fixes that you can try:
- Ensure both devices are close the each other (within 30 feet).
- Ensure the headphones aren’t connected to another device.
- Charge them fully.
- Avoid Bluetooth interference.
- Restart both devices.
How To Fix Bose Headphones That Won’t Connect?
To fix Bose headphones that won’t connect, do the following things.
1. Disconnect From Other Devices
Bose headphones will enter pairing mode and automatically pair with the two (2) closest known devices. If the headphones are already paired with two (2) devices, they won’t pair (connect) with other devices unless you disconnect one.
To remove or disconnect devices from Bose headphones, do the following things.
- Open The Bose Music App (in your Phone).
- Press “Source“.
- Under “Connected“, you will see the paired devices.
- Press “Connect New” or toggle the switch off to disconnect paired devices.
Note: To switch between devices, pause music on one of the devices and start playing music in the other device.
2. Clear The Bluetooth List
Clearing the Bluetooth list can remove software glitches that are preventing the headphones from pairing with a device. Unpairing or removing a device from the Bluetooth list removes the encryption key and connection information associated with that device, preventing automatic reconnection in the future. You must re-pair both devices if you want to add them to the known devices again.
You must remove the headphones from your source device (e.g. phone, TV, PC) Bluetooth list, and remove the source device from the headphones’ Bluetooth list.
To do so:
- Turn on your Bose headphones and put them in pairing mode.
- Go to the Bluetooth settings of your phone.
- Find the “Bose headphones (model number)” in the Bluetooth list.
- Press the “ⓘ” for iPhones or the “gear” next to the name for Android phones.
- Press “Forget This Device” for iPhones, or “Forget” for Android phones.
- If your Bose headphones have a dedicated Bluetooth button or power button, hold it (or switch it to the right side) for 10 seconds.
- Release the Bluetooth (or power) button after you hear the “Bluetooth device list cleared” sound.
- Turn off the Bluetooth in your phone, and restart the headphones. (turn them off and on again).
- Put the headphones in pairing mode, turn on the Bluetooth in your phone, and pair both devices.
3. Activate Pairing Mode
Bose headphones will enter pairing mode automatically once powered up. But, the headphones will exit pairing mode if they aren’t paired (or connected) with a device within a few minutes (depending on the model). To re-activate the pairing mode, slide the power/Bluetooth to the right side and hold it until you hear “Ready to connect to another device”.
To know if the Bose headphones are in pairing mode, check the indicator lights (located at the right earcup).
- Blinking Blue Light – Ready to connect (it means they are in pairing mode and not connected to another device).
- Blinking White – They are connecting to a device.
- Steady White (10 Seconds) – Connected to a device.
- No light – Disconnected or not in pairing mode.
4. Upgrade The Firmware Version
Old firmware versions can have software bugs or glitches that can prevent the headphones from connecting. It’s recommended to upgrade the headphones to the latest firmware version to fix software bugs, improve performance, and access new features.
To upgrade the firmware version of the Bose headphones, you need a PC or Laptop with internet access and a working USB=C charging cable. Here’s how to do it:
- Go to the Bose Updater page.
- Download the Updater on your PC or laptop.
- Open the Updater app.
- Connect the headphones to your PC using a USB cable (you can use the charging cable for this). Put one end of the cable (USB-C) into the headphones, and the other end (USB-A or 3.0) into the PC.
- Once the Updater app recognizes the Bose model, press “Update now“.
- The Updater will download the update and install it. This will take a few minutes.
- The latest firmware version is now installed.
5. Reset Your Headphones
A software bug or glitch can prevent headphones from connecting with nearby devices. To fix or remove software bugs, reset the headphones. A hard reset will return the headphones to their original factory settings, clear internal memory, and remove known devices.
To reset Bose headphones, to the following things.
- Power the headphones off, and wait 30 seconds.
- Connect the headphones to a charger and wait 5 seconds. (Don’t turn them on during this period).
- After 5 minutes, remove the charger and wait 1 minute.
- Press the power button once and they will reset.
6. Use NFC Pairing (For Bose Quiet Comfort)
NFC pairing is the process of establishing a Bluetooth connection between two devices using Near Field Communication (NFC) technology. NFC is a short-range wireless communication technology that allows devices to exchange data by bringing them into close proximity (4 cm or less).
The NFC pairing helps you to connect Bose headphones to your phone, go to the Bose App and install the latest firmware version. Here’s a list of all the phones that support NFC. The list includes most Android phones and iPhones.
To pair Bose headphones using NFC pairing, do the following things.
- Turn on the NFC on your phone. You can find it on the “Settings” page. If you can’t find it look for an online guide for your exact phone model.
- Turn off Bluetooth on your phone.
- Put the phone over the headphones. Or, try to find an “N” logo (usually located near the charging port) and put the phone close to it.
- Within a few seconds, both devices will pair via the NFC connection,
- Download the “Bose Connect” App on your phone.
- Open the app and press “Turn on Bluetooth” (or turn it on manually)
- If it can’t find the headphones, make sure they are on.
- Once the “Bose Connect” app recognizes them, update them to the latest firmware version.
- Once they are updated to the latest firmware version, un-pair them, and re-connect them normally.
How To Fix Bose App That Won’t Connect With Your Headphones?
The Bose app is a mobile application developed by Bose Corporation that provides additional features, settings, and controls for your Bose headphones. The specific features and control vary based on the model of your headphones.
However, the Bose app doesn’t always connect with (or recognize) your headphones, so how to fix it?
- Remove the Bose app from your phone and turn off your headphones.
- Go to the Bluetooth settings of your phone, find the “Bose Headphones” name, and press “Forget this device”.
- Power on the headphones and pair them with your phone.
- Download the Bose app again and open it.
Other things you should try:
- Allow the permissions the Bose app asks for.
- Update to the latest firmware version.
- Restart both devices.
- Update the Bose app to the latest version.
- Remove the Bluetooth memory from your headphones by pressing and holding the power/Bluetooth button for 10 seconds.
- Reset the headphones.
Note: If you connect the gaming microphone to your headphones, the Bluetooth will be disabled and the Bose app won’t be able to find them. Try removing the gaming microphone and see if it fixes the issue.