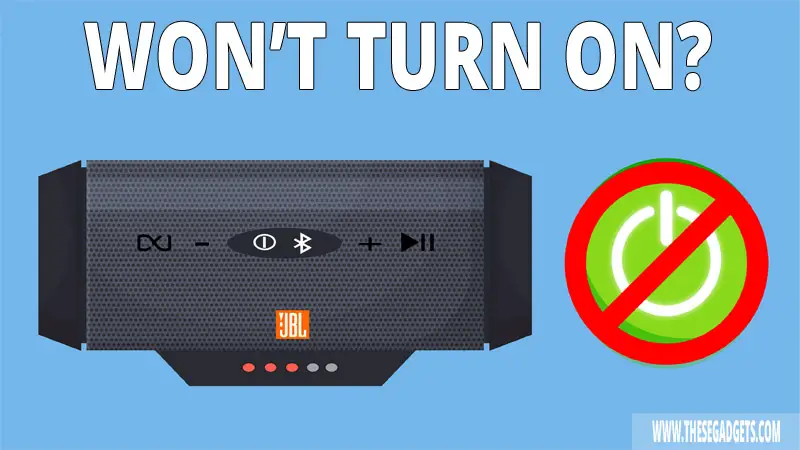
The JBL Charge 4 is a portable Bluetooth speaker known for its 20 hours of playtime, 4 hours of charging time and a battery capacity of 7,500 mAh. But, sometimes the speaker won’t turn on. How to fix it?
To fix a JBL Charge 4 speaker that won’t turn on, reset the speaker, charge it, exit lock mode, try different button combinations, and replace the power button or the battery.
Contents
How To Fix JBL Charge 4 That Won’t Turn On?
To fix JBL Charge 4 that won’t turn on, do the following things.
1. Hard Reset
A hard reset restores the original factory settings of the JBL Charge 4 speaker and clears its internal memory. But, if you can’t power up the speaker, how can you reset it? In this case, the hard reset will help you only if there’s a software bug. This means that the speaker is actually powered up, but no lights turn ON.
To reset JBL Charge 4, do the following things.
- Press and hold the Bluetooth and Volume Up (+) buttons at the same time.
- Release the buttons once the speaker gives a short voice indicating that the speaker is powered off/on.
- Try to power on/off the speaker.
2. Charge The Speaker
JBL Charge 4 won’t turn on if its battery (Lithium-ion Polymer 3.6V, 7500mAh) is drained (0%). Lithium-ion Polymer batteries have a self-discharge rate of 0.5-3% per month. So, if you haven’t used the speaker for a few months, the battery could be drained and it won’t turn on.
To know the battery level of the JBL Charge 4, check the battery indicator lights (located at the bottom of the speaker). The battery indicator lights (5 small LED lights) indicate how much battery is left, each light powered up indicated 20% of charge. For instance, if 1 battery indicator lights up the speaker has 20% or less battery left.
JBL Charge 4 has a 20-hours playtime, if you have passed it then here’s how to charge it:
- Find the flip door that’s located behind the speaker.
- Open the flip door.
- Put one end of the USB-C cable into the USB-C port.
- Put the other end of the charging cable into a wall charger.
- Put the wall charger into a power source.
- Charge it for 4 hours.
- Remove the charger from the speaker and close the flip door.
To know if the speaker is getting charged, check the battery indicator lights. A white flashing LED light means the speaker is charging. Press any of the buttons to activate the battery indicator light if they are turned off. If none of the lights turn on, you may have a bad charger or the speaker may be faulty.
Here’s how to fix a JBL Charge 4 that won’t charge.
3. Exit The Lock Mode
The JBL Lock mode disables all the button’s functionality to prevent unauthorized access to the speaker. If the speaker turns off while in lock mode, it won’t turn on unless connected to its charger. You can accidentally (or intentionally) lock the speaker if you press the Bluetooth and Play buttons at the same time for 10-15 seconds.
To unlock the speaker or exit lock mode, connect it to a power source (e.g. wall charger or PC), and press the Play and Bluetooth buttons simultaneously for 10-15 seconds. The speaker must be connected to a power source or it won’t work.
4. Try Button Combinations
Each JBL Speaker comes with button combinations that do different things. These button combinations are used for debugging the speaker and will help you turn it on.
Do these button combinations if JBL Charge 4 won’t turn on:
- Press the power button 6-8 times continuously, then at the 8th time hold the power button until the speaker turns on.
- Press and hold the power button for 30 seconds.
If this fixes your problem, then your speaker has an old firmware version. To avoid this from happening again, you should upgrade the firmware version. Here’s how to upgrade the firmware version of a JBL speaker.
5. Replace The Power Button
The JBL Charge 4 won’t turn on if the power button is faulty, loose, or damaged. When you press the power button, it sends a signal to the internal circuitry, which triggers the processes to start the device. If the power button is faulty, the internal circuitry won’t get the signal to start the device.
To inspect a faulty power button, do the following things:
- Examine the button visually.
- Clean the power button.
- Test the button’s movement.
- Seek professional assistance.
- Use alternative methods. If the battery indicator lights or the speaker powers up after you connect it to a charger, the power button is faulty.
You can also try pushing the button more than usual. This will damage the button but it can power up the speaker. And, if that’s the case then you know what the problem is and you can just replace the button.
If the power button is faulty, you must replace it. It’s recommended to send the speaker to an authorized repair center or to a local electronic repair shop to get it replaced.
6. Replace The Battery
The JBL Charge 4 won’t turn on if its battery (Lithium-ion polymer) is damaged, faulty, or old. Lithium-ion polymer batteries will get damaged if you expose the speaker to high temperatures or if you physically damage it.
JBL Charge 4 uses a Lithium-ion polymer battery which has a certain number of charging cycles, 300-500. Once it completes the charging cycles, the performance and capacity of the battery will start to decrease until it won’t work anymore (the speaker won’t turn on).
It takes up to 2 years of daily charging to complete 500 charging cycles. However, the charging cycles of a lithium battery are influenced by usage patterns, charging cycles, charging voltage and current, depth of discharge (DoD), and the temperature the speaker is stored in. So, your speaker battery may have less or more than 500 charging cycles.
To determine if the JBL Charge 4 battery is faulty or not, connect the speaker to a power source (e.g. charger) and charge it for 20 minutes. After 20 minutes, while keeping the charger connected, try to power up the speaker. If the speaker powers up, the battery is faulty.
You must replace the battery if it is faulty. To do so, send the speaker to an authorized repair shop (if you have an active warranty) or to a local electronic shop (if you don’t have a warranty).